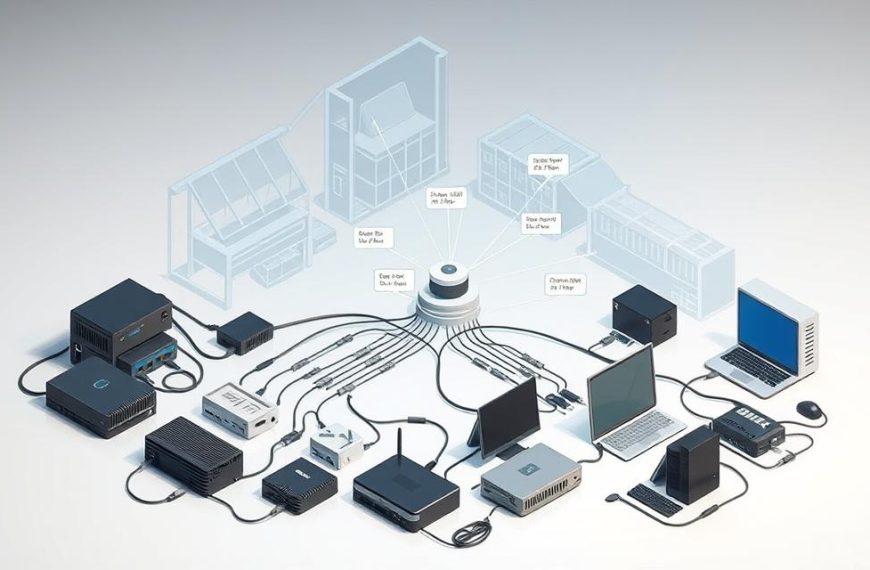
Sharing an internet connection between devices is key in today’s tech world. It lets you share your main connection with others, making a unified digital space.
Sharing networks works over wired or wireless links. It’s great for homes and offices. It helps use your bandwidth better and cuts down on costs.
This guide will show you how to set up these connections. We’ll look at the hardware and software you need for it to work.
Learning these skills makes managing your digital stuff easier. The next parts will give you clear, step-by-step guides for different situations.
Network Sharing Essentials and Concepts
Before we start, it’s important to understand the basics of network sharing. Knowing these key concepts helps you set up and fix your shared network better. This ensures all devices work well together.
Understanding Internet Connection Sharing Principles
Internet Connection Sharing (ICS) works like a network bridge. It connects your main internet to other devices. This lets one computer share internet access with others, both wired and wireless.
The host computer gives out IP addresses using DHCP. This makes setting up connections easy and automatic. Your computer acts like a mini-router, moving data between networks.
This setup keeps your network safe while sharing the internet. The host computer’s firewall protects all devices. This makes sure everyone can browse the internet safely.
Key Benefits of Network Sharing Between Devices
Network sharing has many benefits for homes and offices. It saves money by not needing extra routers or gear. It also makes the most of your current internet.
It makes working together easier. You can share files, printers, and work together better. This is great for small offices or homes with lots of internet users.
It’s also very flexible. You can set up networks quickly for meetings or emergencies. This flexibility is key for today’s connectivity needs.
“Network sharing turns devices into teams, saving money and resources.”
Essential Hardware Components Required
To share networks, you need certain hardware. The host computer needs two network adapters. One for the internet and another for sharing with others.
For wired connections, you’ll need Ethernet cables. Use Category 5e or Category 6 for reliable data transfer. These cables keep data flowing smoothly between devices.
For wireless, you need wireless cards or adapters. The host computer must support wireless hosting. Client devices just need standard wireless. Most modern computers have this, but older ones might need upgrades.
You might also need network switches or USB adapters. These ensure your setup works with different devices and connections.
System Preparation and Requirements
Setting up internet sharing starts with careful system preparation. Before you connect devices, check and tweak key components. This ensures your network works smoothly.
Operating System Compatibility Checks
Each operating system has its own way of sharing the internet. Windows 7 and later can share connections easily. macOS from Sierra onwards also has great sharing features. Most Linux versions use network manager tools for sharing.
Sharing between different platforms can be tricky. Sharing from Windows to macOS usually works well. But sharing from Linux to Windows might need extra steps. Make sure all devices use the same network protocols.
Network Adapter Specifications and Settings
Your network adapter is the key to sharing the internet. Most computers have both wired and wireless adapters. Keep your adapter drivers up to date and set up correctly for the best performance.
Important specs to check include:
- Adapter speed and duplex settings
- Driver version and compatibility
- Power management settings (especially for wireless)
- Advanced features like Wake-on-LAN if needed
Right network adapter settings are essential for reliable sharing. Wrong settings can cause problems. Always test your adapter before sharing.
Administrative Privileges and User Permissions
Changing network settings usually needs admin access. On Windows, you need an admin account. On macOS, you must use an admin account to enable sharing.
Permissions differ across systems:
- Windows uses User Account Control (UAC) prompts
- macOS requires administrator authentication
- Linux systems typically use sudo privileges
It’s not just about system access. Network permissions are also important. Firewalls must allow sharing traffic, and users might need specific network rights. These steps keep your system safe while allowing sharing.
Correct IP configuration is key for admin tasks. Static IPs or DHCP reservations help sharing devices access the network consistently. Always keep a record of your changes for future troubleshooting.
How to Share Network from One Computer to Another Using Windows
Windows systems make it easy to share Ethernet between devices. This guide helps you set up and check Windows network sharing.
Configuring Internet Connection Sharing on Windows Host
Start by going to the Network Connections panel in Control Panel. Right-click your active internet connection and choose Properties. Then, go to the Sharing tab for important options.
Check the box to let others use your internet. Pick the Ethernet adapter you want to share from the dropdown menu.
For the best sharing, consider these settings:
- Enable automatic address assignment through DHCP
- Set the right subnet mask for your network
- Check firewall exceptions for sharing services
Setting Up Client Computer Network Settings
The client device needs specific settings to use the shared connection. Go to network adapter properties and find Internet Protocol Version 4 (TCP/IPv4) settings.
Set the client with these key parameters:
| Setting Type | Recommended Value | Purpose |
|---|---|---|
| IP Address | 192.168.137.x (x=2-254) | Unique device identification |
| Subnet Mask | 255.255.255.0 | Network segmentation |
| Default Gateway | 192.168.137.1 | Routing to host computer |
| DNS Server | 192.168.137.1 or provider DNS | Domain name resolution |
These settings are key for successful network sharing between devices.
Verifying and Testing the Shared Connection
After setting up, check if Ethernet sharing works. On the client, open Command Prompt and use ipconfig to check settings.
Use ping commands to test connection to the host and the internet. If you get replies, it’s working right.
For a full test, follow these steps:
- Test local network connection between host and client
- Make sure the client can access the internet
- Check the network speed and stability
- Ensure the firewall allows sharing traffic
Correct verification means your network sharing is reliable and safe for all devices.
Internet Sharing via macOS Systems
Apple’s macOS makes it easy to share the internet across many devices. Its user-friendly interface helps both tech-savvy and non-tech users. This makes it a solid choice for extending internet access.
Enabling Network Sharing on macOS Devices
To start internet sharing on your Mac, go to System Settings. Then, head to the General section. Look for Internet Sharing in the menu options.
Choose your internet source, either Ethernet or Wi-Fi. Pick the right port for other devices to connect.
For wireless sharing, set your network name and channel. macOS offers several security options:
- WPA3 Personal (most secure)
- WPA2/WPA3 Personal
- WPA2 Personal
Make a strong password to keep your network safe. You can also create a NAT64 network for better device compatibility.
Connecting Windows and Other Devices to Mac
Cross-platform sharing between macOS and Windows is easy when set up right. Windows users can find and connect to your Mac’s network in their settings.
On the client device, look for your Mac’s network and enter the password. The connection should start automatically.
For wired connections, plug in the Ethernet cable correctly. Your Mac will give IP addresses to connected devices through DHCP.
Resolving Common macOS Sharing Challenges
Some users find internet sharing options greyed out. This usually means your primary connection isn’t working. Make sure it’s active before sharing.
Sharing issues can happen if you’re using the connection for something else. macOS stops conflicting settings to avoid problems.
If devices can’t connect, try these fixes:
- Check if Internet Sharing is on in System Settings
- Make sure your password is correct on client devices
- Look out for firewall blocks
- Restart both the Mac and client devices if problems continue
Remember, macOS internet sharing turns off your Mac’s Wi-Fi when sharing. This ensures a stable network for everyone.
Good cross-platform sharing needs the right setup on both the Mac and client devices. Double-check settings to ensure everyone stays connected and performs well.
Wireless Network Sharing Methods
Wireless connectivity makes sharing internet easy between devices without cables. It’s great for moving around or when cables are not practical.
Most computers have tools for wireless sharing built-in. You can also use third-party apps for more features. Knowing your options helps you choose the best one for you.
Creating and Managing Mobile Hotspots
Mobile hotspots turn your computer into a wireless spot. This lets other devices connect to your internet. Windows and macOS have this feature in their network settings.
Apps like Connectify Hotspot add extra features. They block ads, share VPNs, and support many languages. They also let you control who can connect.
When setting up a mobile hotspot, remember these steps:
- Choose a clear network name (SSID)
- Use WPA2 or WPA3 for security
- Make a strong password with letters, numbers, and symbols
- Know how many devices can connect at once
Establishing Ad-hoc Wireless Networks
Ad-hoc networks connect devices directly without a router. They’re good for quick file sharing or internet between two computers.
Windows can create ad-hoc networks through the Network and Sharing Center. macOS users can use Internet Sharing in System Preferences. These options make setting up easy.
For advanced wireless connections, special software offers better features. They give more stability and options than built-in tools.
Security Considerations for Wireless Sharing
Sharing wireless networks has security risks. Unlike wired connections, wireless signals can reach anyone nearby.
Encryption protocols protect your network. Always use WPA2 or WPA3. These are safer than older protocols like WEP.
Strong passwords are key. Make them long and include letters, numbers, and symbols. Don’t use easy-to-guess words or personal info.
Keep an eye on who’s connected. Many hotspot tools show connected devices. Check this list often to keep your network safe.
| Security Feature | Minimum Requirement | Recommended Setting | Risk Level if Ignored |
|---|---|---|---|
| Encryption Protocol | WPA2 | WPA3 | High |
| Password Length | 8 characters | 12+ characters | Medium |
| Special Characters | Optional | Required | Medium |
| Network Visibility | Broadcast SSID | Hidden Network | Low |
| Device Limit | No limit | 5 devices maximum | Medium |
Turn off wireless sharing when not using it. This reduces security risks and saves resources. Most systems and apps let you toggle it easily.
Wired Network Sharing Approaches
Wired networks are more stable and secure than wireless ones. They use Ethernet cables for fast and reliable connections. This is great for tasks that need lots of bandwidth and where you can’t afford to lose data.
Direct Ethernet Cable Connections
Connecting two computers with an Ethernet cable is simple. You need a standard Ethernet cable. But, crossover cables are no longer needed thanks to modern network adapters.
To set it up, give both computers static IP addresses in the same subnet. The host shares its internet, and the client uses the host’s connection. This method is fast and secure because it’s isolated from other networks.
| Cable Type | Best Use Case | Maximum Speed | Connection Length |
|---|---|---|---|
| Cat 5e | Basic internet sharing | 1 Gbps | 100 metres |
| Cat 6 | High-speed data transfer | 10 Gbps | 55 metres |
| Cat 6a | Professional applications | 10 Gbps | 100 metres |
| Cat 7 | Future-proof installations | 10 Gbps | 100 metres |
Utilising Network Switches for Multiple Devices
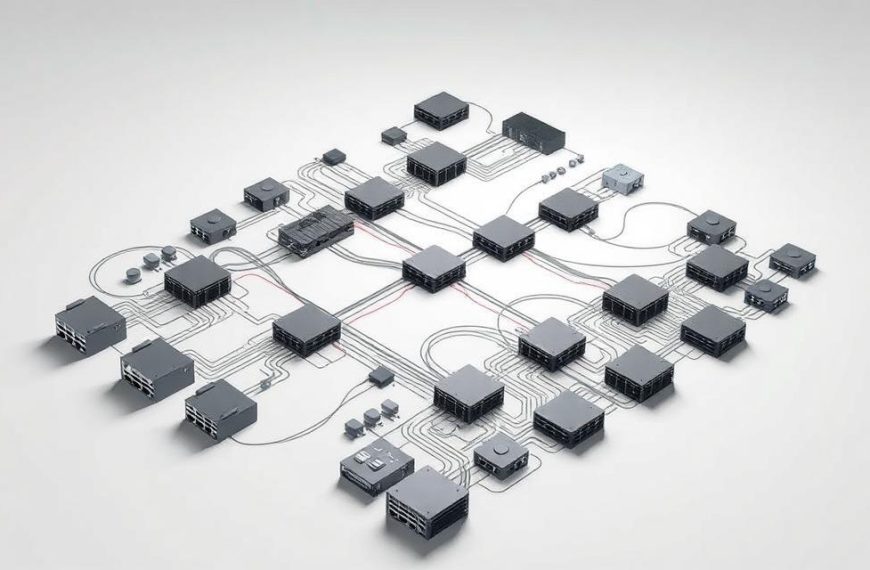
Network switches let you connect more than two devices. They manage data traffic, making it easy to share the internet from one host machine.
To set up a switch, plug the host’s Ethernet port into any switch port. Then, connect other devices to the remaining ports. Most switches work automatically, but managed switches offer extra features like VLAN support.
“The strategic implementation of network switches transforms individual connections into cohesive network environments, enabling seamless resource sharing across multiple devices while maintaining wired reliability.”
Optimising Wired Network Performance
For better wired network performance, focus on hardware and software. Use high-quality cables to support more bandwidth. Keep cables straight and away from interference.
Adjust network adapter settings for the best performance. Use full-duplex mode if possible. Also, keep your drivers up to date for better performance and bug fixes.
Use quality of service (QoS) rules to manage traffic. This ensures important applications get enough bandwidth, keeping the network stable.
Advanced Configuration and Optimisation
Setting up your network is just the start. Advanced techniques can make your shared connection much better. These methods give you more control, make your network more reliable, and help you use resources better.
IP Address Management and DHCP Settings
IP management is key for a stable network. Most homes use automatic addressing. But, manual IP assignment gives you more control over devices.
Static IP addresses are great for devices that always need the same address. This is good for servers, printers, or computers that are always online.
DHCP settings help manage IP addresses automatically. You can set up specific address ranges and rules for different devices.
Subnetting helps organise your network by grouping devices. It makes your network more secure and reduces traffic.
Network Bridge Configurations
Network bridging connects different network segments smoothly. It’s useful for linking different networks or extending your network across multiple interfaces.
Bridging lets devices on different networks talk to each other as if they’re on the same network. It makes data sharing easier and avoids routing problems.
Windows has built-in bridging tools in Network Connections. You can link wired and wireless adapters to create a single network access point.
To set up a bridge, you need to know about network interfaces and their compatibility. Make sure the adapters support the same speed and duplex settings for best performance.
Quality of Service (QoS) Settings
QoS optimisation makes sure important network traffic gets priority. This is crucial when many devices share the same internet.
You can set QoS rules to give priority to video calls, online games, or work apps. Modern routers and systems let you control traffic in detail.
Windows has advanced Delivery Optimization settings that work with QoS. These settings help manage bandwidth for updates and big files.
To make QoS work well, you need to watch how your network is used and adjust settings as needed. Regular checks help keep your rules up to date.
QoS works best if your router can handle it and you have enough bandwidth. These settings help distribute what you have, but don’t create more bandwidth.
Troubleshooting Common Network Sharing Issues
Even with the right setup, network sharing can still face problems. This section offers solutions for common issues when sharing internet between devices.
Resolving Connection Recognition Problems
Devices might not see each other on the network. This usually happens because of adapter problems or driver issues.
Start by checking your device manager. Make sure all network adapters are there and enabled. Without them, devices can’t connect.
Update your network drivers to the latest versions. You can find these on your hardware maker’s website. Old drivers can cause problems.
Try restarting network discovery on both computers. This often fixes temporary issues that stop devices from seeing each other.
Addressing IP Conflict and Connectivity Issues
IP address conflicts are a big problem in network sharing. They happen when devices use the same IP address.
To fix this, make sure your DHCP server works right. It should give each device a unique IP address.
If DHCP problems persist, consider static IP addresses for key devices. This gives you more control over your network and reduces conflicts.
Use the ipconfig command to fix IP address issues. This simple step can solve problems without big changes.
| Common IP Issue | Symptoms | Recommended Solution | Prevention Method |
|---|---|---|---|
| IP Address Conflict | Intermittent connectivity, error messages | Release/renew IP configuration | Proper DHCP scope configuration |
| Subnet Mask Mismatch | Devices can’t communicate across network | Verify and correct subnet settings | Standardised network configuration |
| Default Gateway Issues | No internet access despite local connectivity | Check gateway address configuration | Consistent gateway settings across network |
| DNS Resolution Problems | Websites not loading while IP connectivity works | Flush DNS cache and verify DNS servers | Reliable DNS server configuration |
Firewall and Security Software Configurations
Firewalls and antivirus programs can sometimes block network sharing. They might think it’s a threat.
Check your firewall settings. Make sure they allow network discovery and file sharing. Most firewalls have rules for these activities.
Make exceptions in your antivirus for network sharing. This lets devices communicate while keeping your system safe.
Try disabling your security software to see if it solves the problem. If it does, adjust your settings instead of leaving it off.
Set up Windows Defender Firewall to allow Network Discovery and File and Printer Sharing. This tells your security system it’s okay for your network sharing.
Effective network troubleshooting balances security and functionality. Always turn protection back on after testing and make proper exceptions.
Conclusion
Learning how to share networks between computers makes managing internet access easier. This guide shows how Windows and macOS systems help create shared connections. It’s all about making internet access flexible across different devices.
To set up network sharing well, you need to prepare your systems, choose the right hardware, and secure your network. You can use wired Ethernet or wireless hotspots. Each option has its own benefits for different situations.
The best method for you depends on your needs, the devices you use, and how fast you need your internet. Whether you’re a business or an individual, focus on making your network reliable and secure.
By following this guide, you can set up network sharing that works well. It will help you get the most out of your internet on all your devices.


